Hudson Valley Photographer { Digital Painting Tips and Tricks }

First off if you’re looking for a professional Hudson Valley Photographer please take a look at my portfolio.
I know really this is a photography blog, and should really be showcasing my photography work, but I just can’t seem to get enough of this whole digital painting thing. Honestly this is some of the most fun I’ve had creating artwork in a really long time. I don’t know what it is about doing this form of painting that has me so entranced. It seems like every day I come home with a new “project” of something else to paint. It’
s really been a lot of fun.
I have a few tips that I would like to point out when using the new photoshop mixer brushes.
Use the presets.
It’s amazing how much they really help when you’re trying to paint. And when you use the presets you get consistency. Which becomes vividly clear if you can’t remember what settings you were using on the mixer brush when you first started painting. For some reason when you come up with custom settings they are so much harder to manage when you’re going back over a section trying to paint it again.
Notice when Photoshop isn’t doing what it’s supposed to.
I have noticed that sometimes photoshop gets into states where it won’t autoclean, or auto load your brush. This might take a little bit to notice and you will end up painting a bunch of strokes, and wonder why the color is just a little bit off. I’m not sure if this is a photoshop bug, or what, but for some reason it’s just not very reliable with the autoclean and autoload settings. Which really are 2 settings that you should have on all the time. It makes it so much easier to paint.
Use lots of Layers.
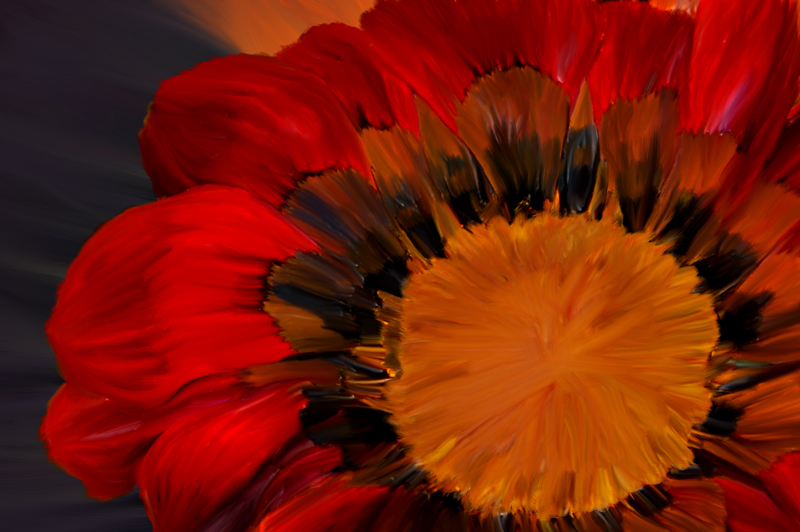
For instance this shot is 6 layers. 1. the black part of the background, 2. the yellow part of the background, 3. the red petals, 4. the darker brown/black part of the petals, and 4. the outside of the iris, and 5. the inside of the iris. Using layers like this you can stack your brushstrokes so it looks more like a painting. Also because they are all on seperate layers I can use parts of the real photograph to fill in any part that I missed in painting over it. By doing this the photo fills in some of the finer details for instance the hard edge between the outside of the petals and the darker inside of the petals.
Get a Pen tablet
Honestly without a pen tablet I don’t know if I would have the patience or the time to actually pull this off. It’s almost too hard to really “paint” without holding a pen in your hand.
Take your time
I notice immediately when I start to get sloppy and don’t take my time painting the finer details. It just doesn’t come across as a really great image. Also be sure that you take the time to zoom in and catch parts that you missed. Keep cleaning and refining until you find something that you really like.
Use the Eraser
I know it’s a little weird to say that to a photographer who knows that using the eraser is the quickest way to end up with a photoshop disaster, but in this case the eraser is your friend. It exposes the pixels underneath it and allows you to repaint something that just doesn’t look right. For instance when photoshop stops autoloading, or autocleaning your brush. Just erase it and start over. I promise removing eraser lines is super easy by just repainting over them.
Anyways I hope that helps you to create some awsome digital painting of your own.
-Dave

